RADWAG
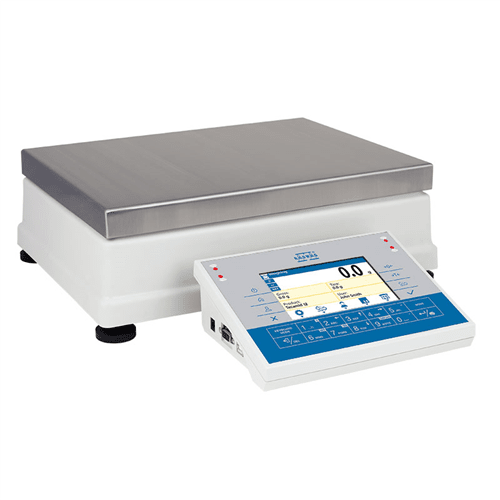
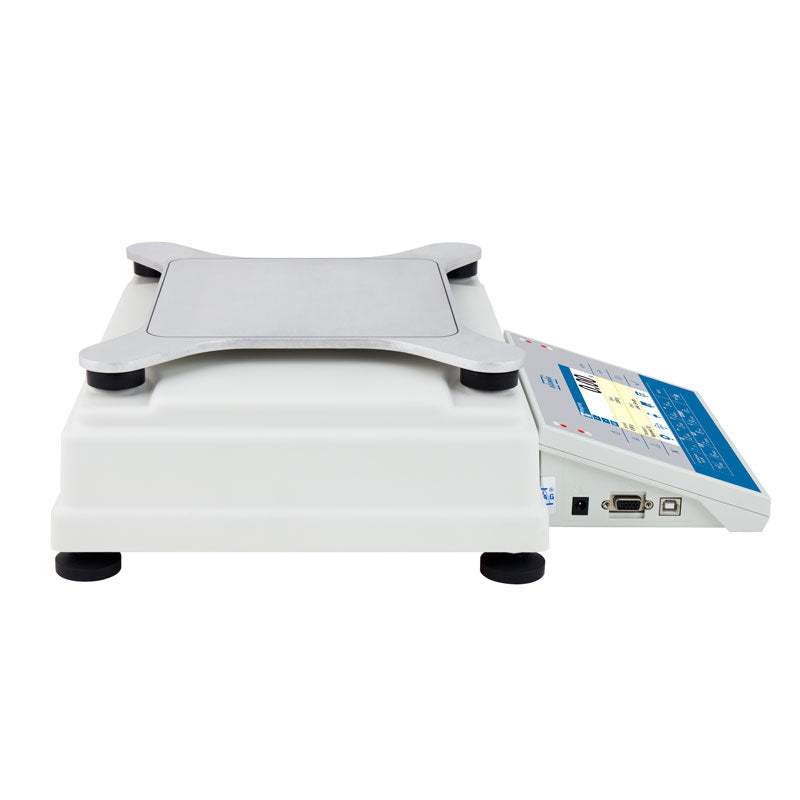
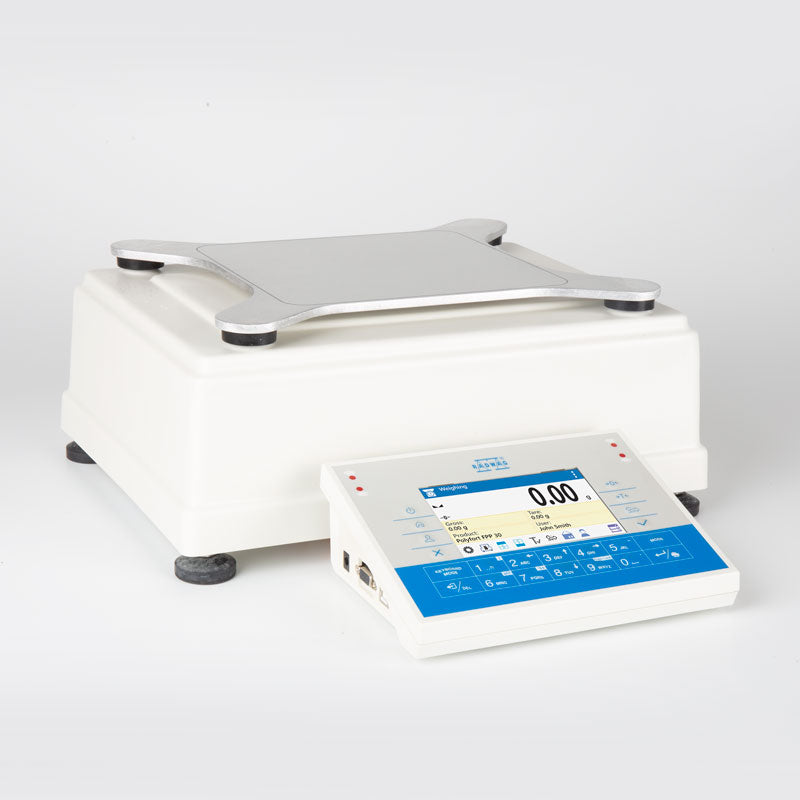
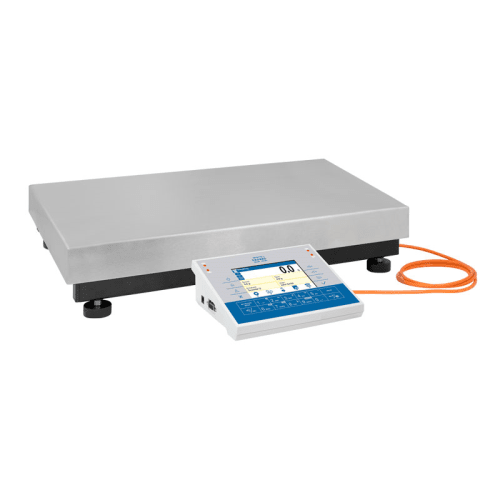
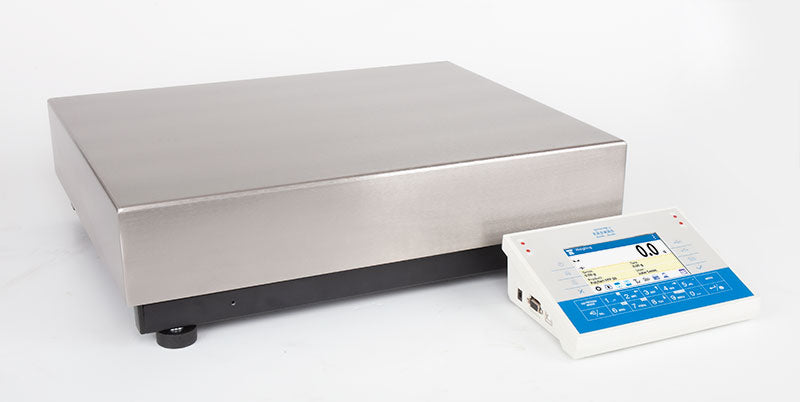
Precision balance PM C32
Precision balance PM C32
SKU:WL-223-0025
Couldn't load pickup availability
Estimated delivery time: 2-3 weeks
Warranty: 3years
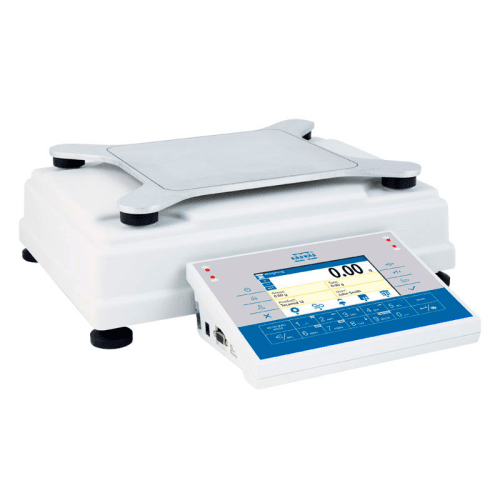
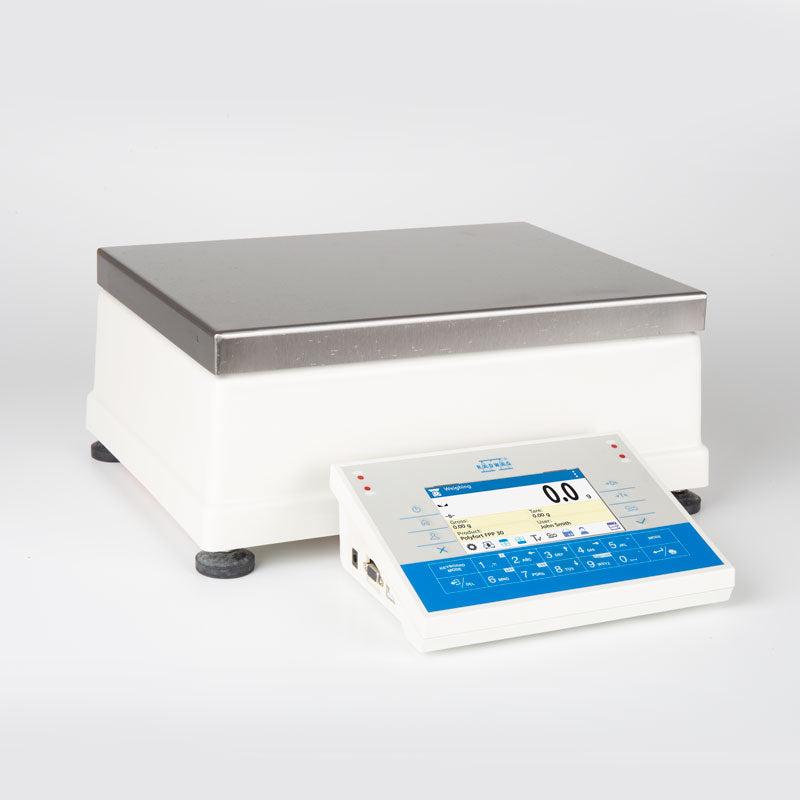
The RADWAG precision balance PM C32 series offers laboratory precision under industrial conditions.
Readability [d]: 0.01 g - 1 g
Maximum capacity [Max]: 10 kg - 120 kg
Share







Options and accessories for precision balance RADWAG PM C32 -series
-
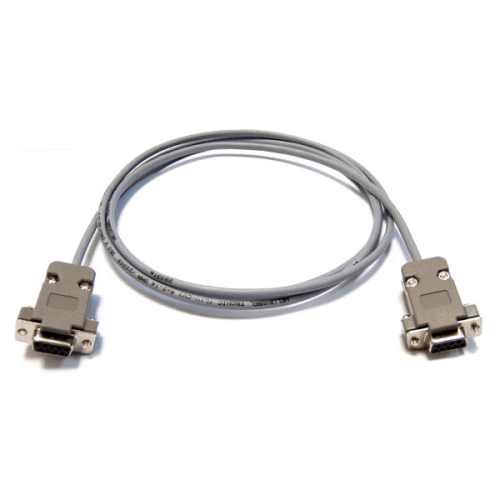
RS232 cable for RADWAG balances (Balance - PC) - 1,7m
Regular price €23,33 VAT 0%Regular priceUnit price / per
RADWAG
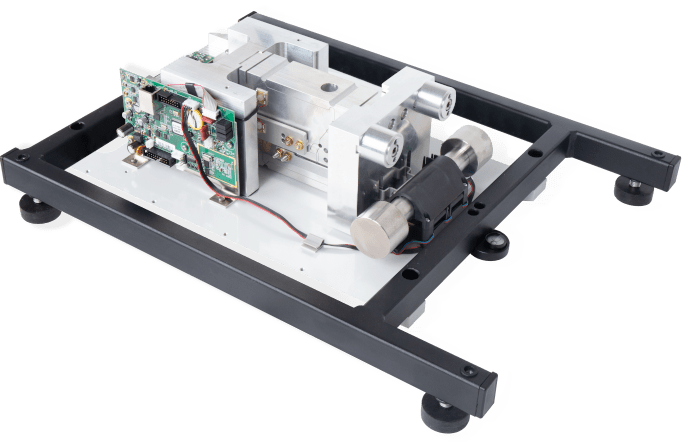
Mono BLOCK® technology
The ability to weigh loads up to 120 kg on a large weighing pan with high accuracy and good repeatability,
- minimum eccentricity error over the entire range,
- quick and stable measurement (achievable within 1 second),
- parameter stability over time and during transport,
- weighing pan dimensions adapted to the accuracy of the balance
are the distinguishing features of RADWAG PM balances. All of this is possible thanks to the use of a cutting-edge measuring system based on RADWAG’s enhanced
MONOBLOCK® technology.The change in the design of the has made it possible to work with a readability of 0.01 g at a maximum capacity of 20 kg and 0.2 g at a maximum capacity of 120 kg,with a repeatability of 0.01 g,and resistance to changes in ambient conditions.
Application
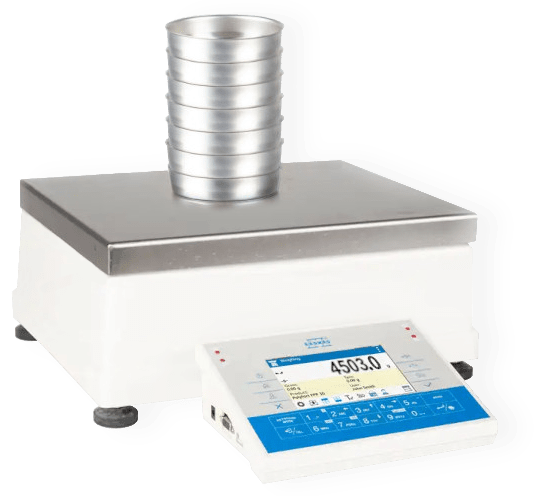
PM balances not only provide an accurate reading and quick measurement, but they are also versatile, allowing them to be used in a variety of industrial sectors.
Dosing, formulation-making, and parts counting are just some of the possible applications of these multi-purpose devices.
PM balances will find use wherever high-accuracy, high-load-capacity weighing equipment is required.
PM balances also include:
- robust design based on a larger and taller Monoblock,
- built-in 4-point overload protection system,
- IP 43 ingress protection,
- internal adjustment,
- 5" colour display,
- easy start-up, intuitive operation, and ergonomics.
Functions
Labeling
Marking products with the right symbols contributes to quick and reliable identification. The balance/scale usually transfers product mass or product quantity to the label printer. The transferred value is printed with the following information: bar code, pictogram, content, address etc. In laboratory the labelling is performed in a semi-automatic mode, for industry in an automatic one (dynamic scales).
Plus/Minus control
Control of sample's mass carried out with reference to specified MIN and MAX thresholds. The weight is considered to be correct if it is comprised within threshold values. A graphic visualisation of weighing result is displayed in a form of a bar graph.
Percent weighing
Percent Weighing function is used for comparision of measured products with mass standard. Mass of a mass standard may be a numeric value taken from a database or it may be determined through a measurement process. Each measured product is compared to mass standard, mass of which is presumed as a model 100% ideal mass. For products weighing less than the mass standard, obtained results are lower than 100%, for products weighing more, the obtained results are greatly exceeded.
Totalizing
Function adding new mass value to already obtained one. This allows to determine mass content of the mixture, being a composition of number of different consistence components. Totalizing is limited by maximum capacity parameter.
Parts counting
Function using mass measurement for determination of measured items quantity. Mass of a single item is required for this process. It may be either estimated through weighment or taken from a database. For items counting the following algorithm is used: all items mass / single item mass = quantity. Function operation is supperted by a mechanism of Automatic Correction of Accuracy. This allows to update single item mass in course of the process. To a certain extend Automatic Correction of Accuracy eliminates error which may be a result of different mass values of seemingly alike single elements. For industry solutions items counting may be simultaneously carried out with checkweighing and dosing thus industry solutions feature audio signalling base informing that specified number of items has been weighed. It is possible to apply weighing systems using few platfroms of different MAX capacities and different accuracies.
Statistics
Statistiscs function registers and analyses performed measurements. This supplies the user withthe following information: Max and Min standard deviation, average value, variance, range et.
IR sensors
Programmable function supporting the weighing process through control of the following options: sliding weighing chamber doors, printout, zeroing, tarring etc. Especially appreciated wherever preventing the balance from soiling is important.
GLP procedures
Diagnostic function allowing to objectively document performed measurements. GLP procedures may be either presented in a short report form or extended one.
Animal weighing
Process of mass determination for a product which may unwillingly reposition within the weighing pan. Mass determination in such cases requires much longer period of time when compared to typical weighing process. It is the user who defines period of time needed for control of measured product mass. The user can thus optimize the function depending on the measured product characteristics.
Density determination
Liquid or solid body density function uses the Archimedes principle and it requires a special kit to be applied. The kit when used, replaces a weighing pan. For solids mass of the sample must be determined first in the air, next in the liquid of specified density. For liquids the so called sinker, density of which has been determined, must be measured first in the air, next in the tested liquid. The density determination process is disturbed by air bubbles which may stick either to the measured sample or the sinker. In case of laboratory equipment very light solids may be measured. For industry, solid bodies density may be determined by means of under-pan weighing. Tested load of significant size may be measured this way.
ALIBI memory
"ALIBI" memory enables saving and storing up to 100000 measurements. Measurements are saved automatically upon each pressing of the key. There is no need for any additional operations or changing settings.
The following data related with the measurements is saved: measurement date; measurement time; result (mass); tare value; operator carrying out the measurement (logged in); product name.
The software saves the measurement in a so called loop, i.e. when the measurement no. 100001 is saved, the measurement 1 gets automatically deleted from the memory.
Measurements saved to balance memory cannot be deleted.
You can preview and print out the data saved to the ALIBI database.
