RADWAG
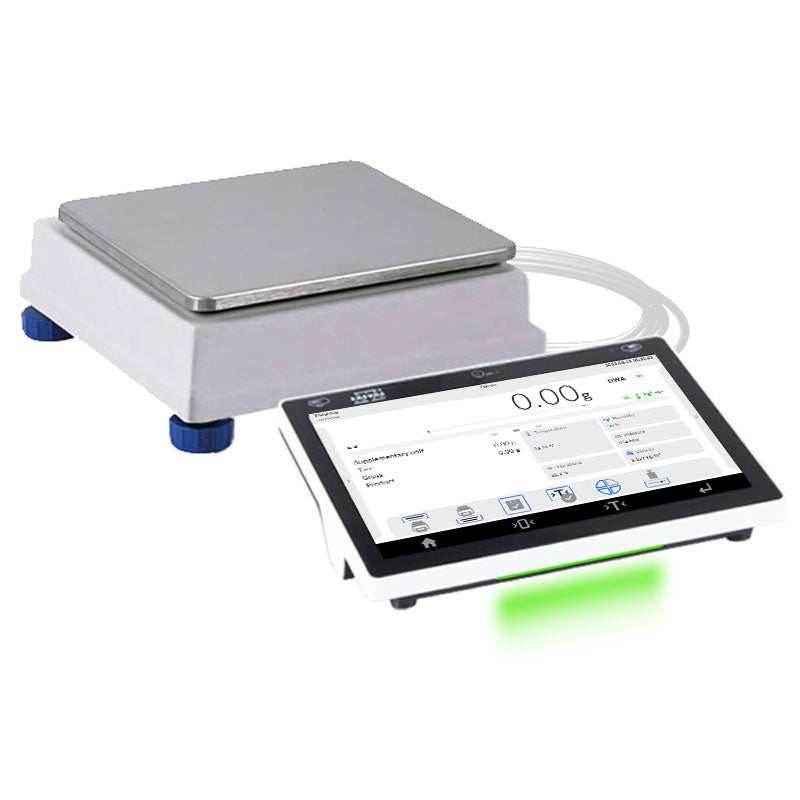
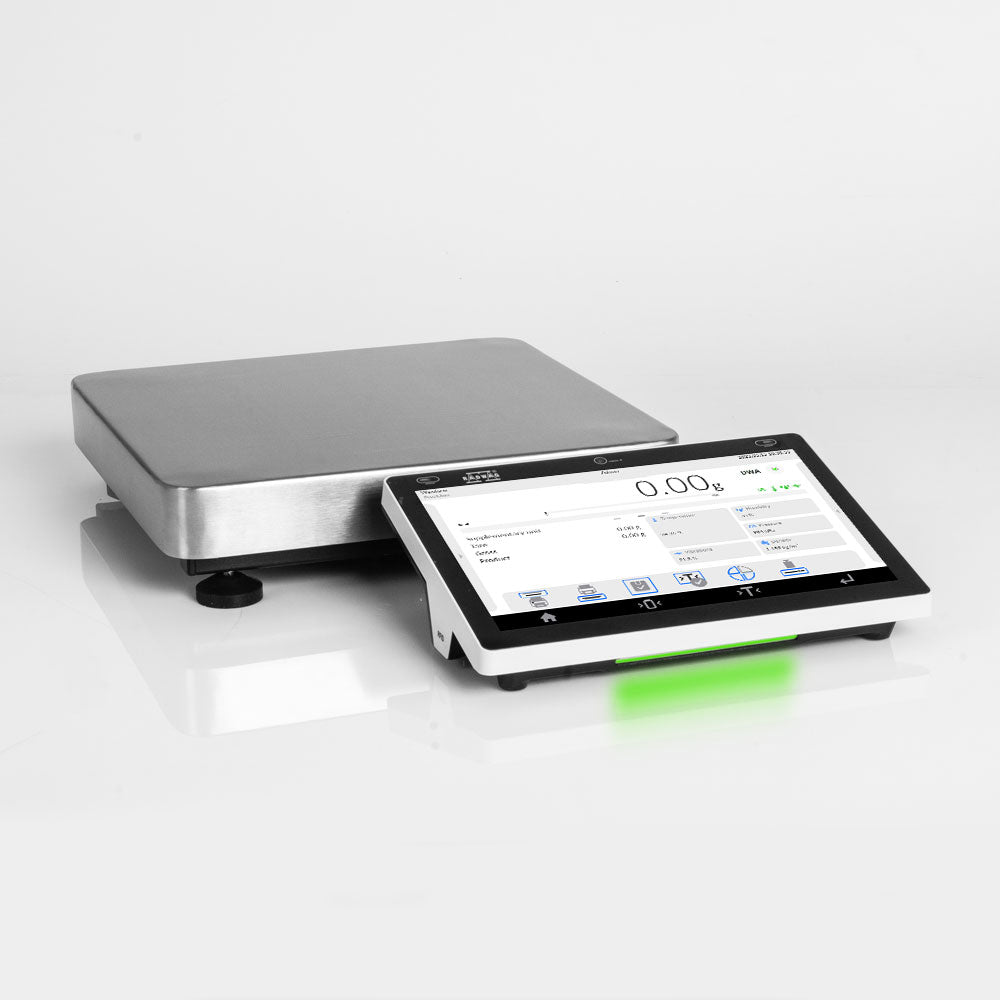
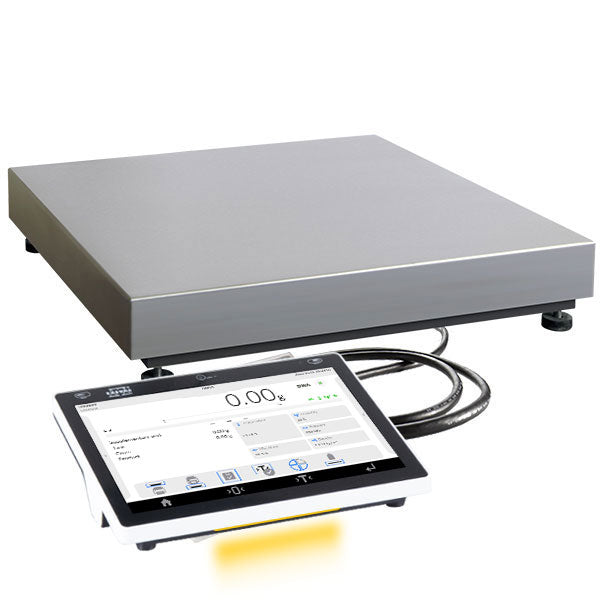
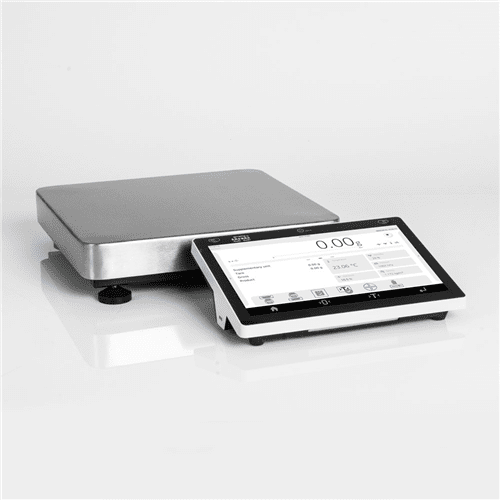
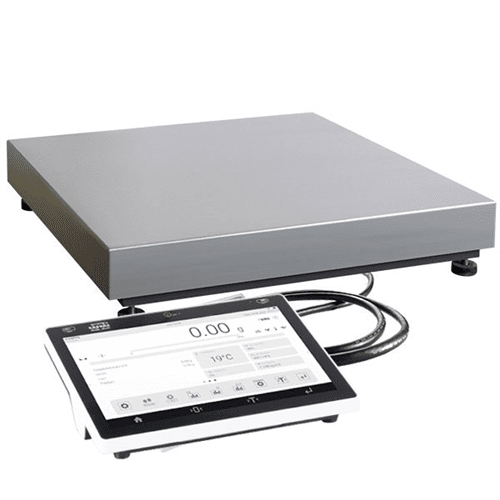
Precision balance PS CY 10
Precision balance PS CY 10
SKU:WL-225-0001
Couldn't load pickup availability
Estimated delivery time: 2-3 weeks
Warranty: 3 years
Maximum capacity [Max]: 1 kg - 120 kg
Share




Options and accessories for precision balance RADWAG CY10-series
-
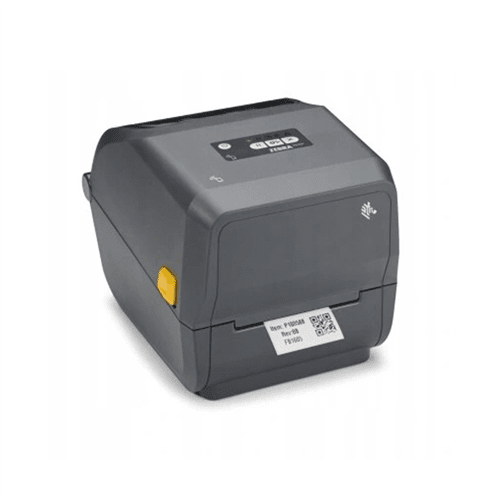
Label printer for RADWAG balances ZD421t
Regular price €980,00 VAT 0%Regular priceUnit price / per
RADWAG
Software for special tasks
Thanks to the terminal advanced software, the CY10 series precision balance:
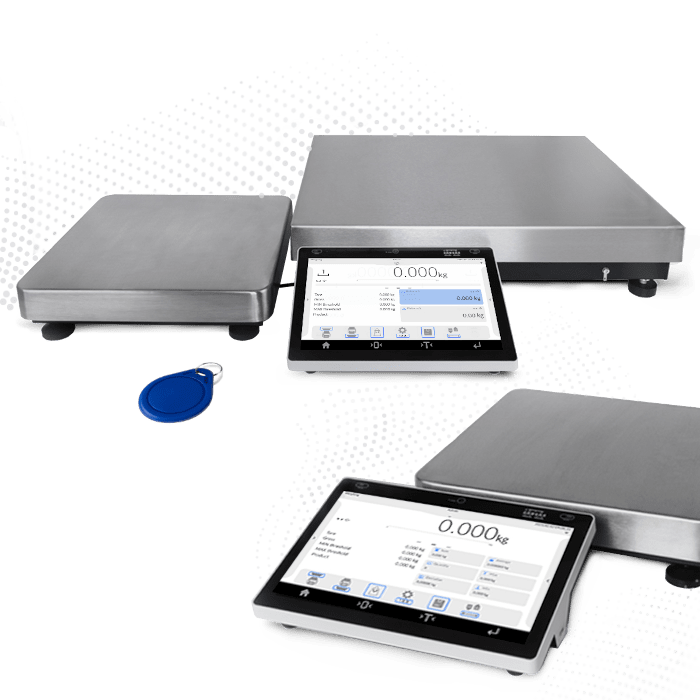
- Cooperates with up to 2 weighing platforms
- Continuously updates all statistical data after the next measurement is entered into the balance’s memory – either globally (regardless of the weighed commodity) or separately for each weighed commodity selected from the database
- Has a Tare mode expanded to include End-product issue mode capability
- Works with RFID tags* (accessing personal data as well as marking specific goods or recipe ingredients in the database).
* RFID ISO/IEC 14443 Type A, 13,56 MHz
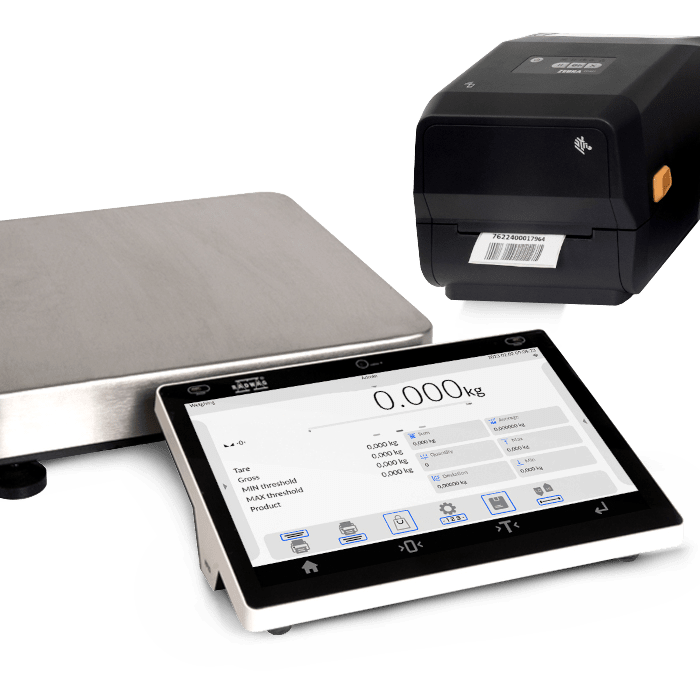
Precision balance and labelling scale in one device
If you need a labeling scale, the CY10 is the perfect solution. With a terminal that:
- Cooperates with the computer program Label Editor R02
- Is compatible with ZEBRA label printers
- Supports single labels, bulk labels and bulk from bulk labels
- Allows import/ export of label designs using a pendrive
- Enables you to assign labels to goods or customers and print a global label
The CY10 series precision balance can operate as a labeling scale.
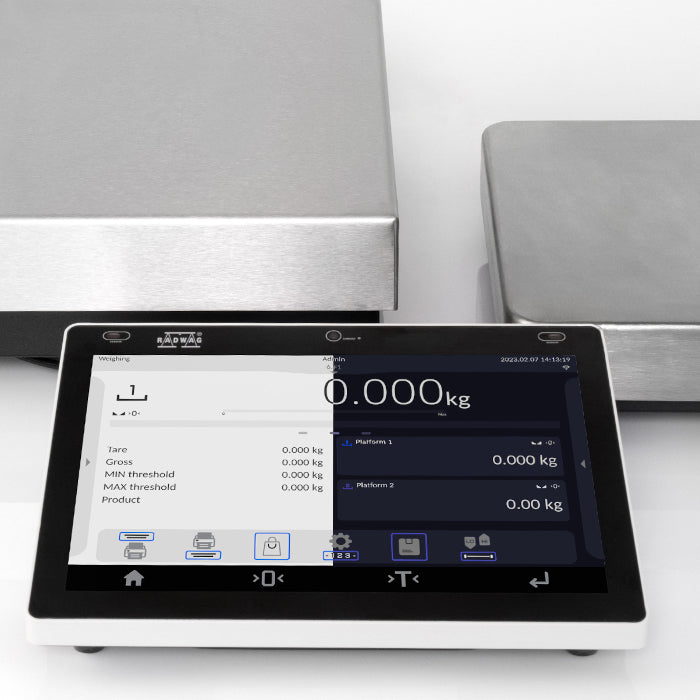
Light or dark?
Which color theme will you set on your CY10 balance? Both are user-friendly and clear, but we are curious which one you like more.
Functions
Autotest
Diagnostic function aiming at metrological parameters determination (repeatability), the parameters are determined for the actual conditions of use. When speaking of repeatability it may be also used for weighing time optimization. Autotest is operated in an automatic mode thus operator’s time is saved.
Dosing
Weighing process for which reference mass has been determined together with tolerance for its determination. Dosing tolerance is given in [%] and it is calculated in relation to the reference value thus being a permissible deviation of this process. This solution is used for weighing powders, liquids and loose materials. Dosing function performance is often supported with bargraph - load indicator. For industrial scales it is possible to use a control systems of dosing process.
Percent Weighing
Percent Weighing function is used for comparision of measured products with mass standard. Mass of a mass standard may be a numeric value taken from a database or it may be determined through a measurement process. Each measured product is compared to mass standard, mass of which is presumed as a model 100% ideal mass. For products weighing less than the mass standard, obtained results are lower than 100%, for products weighing more, the obtained results are greatly exceeded.
Parts counting
Function using mass measurement for determination of measured items quantity. Mass of a single item is required for this process. It may be either estimated through weighment or taken from a database. For items counting the following algorithm is used: all items mass / single item mass = quantity. Function operation is supperted by a mechanism of Automatic Correction of Accuracy. This allows to update single item mass in course of the process. To a certain extend Automatic Correction of Accuracy eliminates error which may be a result of different mass values of seemingly alike single elements. For industry solutions items counting may be simultaneously carried out with checkweighing and dosing thus industry solutions feature audio signalling base informing that specified number of items has been weighed. It is possible to apply weighing systems using few platfroms of different MAX capacities and different accuracies.
Peak hold
Function registering the greatest temporary indication occurring in course of the weighing process. It is most often used in medical scales in order to hold the measurement indication.
Formulation
Function supporting the mixture making process, wherein the mixture contains various components. Formulation function usually uses the balance/scale database of components. Formulation serves for monitored checkweighing of every single component with a given tolerance. It is enriched with a set of individual settings.
Statistic
Statistiscs function registers and analyses performed measurements. This supplies the user withthe following information: Max and Min standard deviation, average value, variance, range et.
Checkweighing
Checkweighing function is used for checking whether the measured sample mass is within the predefined threshold values, Low [LO] and Hgh [HI]. The thresholds are given in [g] and [kg] units. Current state of a sample being measured is signalled by means of pictorgams located on a display for laboratory balances, for industrial scales Stackligt System is used. This visual +/- inspection is in operation during segregation, control or packing process of products for which mass has bees determined with a specifaied tolerance, eg. 12860 g 961
IR sensors
Programmable function supporting the weighing process through control of the following options: sliding weighing chamber doors, printout, zeroing, tarring etc. Especially appreciated wherever preventing the balance from soiling is important.
Pipettes calibration
Function verifying correctness of piston pipettes functioning, the verification is performed via gravimetric measurement of the excreted liquid. Pipettes calibration may be either a stand-alone module or it may be operated
Air density correction
Function performing correction of mass measurement indication, wherein the air density is taken into account. It is used in balances with reading unit < 0,01 mg.
Density determination
Liquid or solid body density function uses the Archimedes principle and it requires a special kit to be applied. The kit when used, replaces a weighing pan. For solids mass of the sample must be determined first in the air, next in the liquid of specified density. For liquids the so called sinker, density of which has been determined, must be measured first in the air, next in the tested liquid. The density determination process is disturbed by air bubbles which may stick either to the measured sample or the sinker. In case of laboratory equipment very light solids may be measured. For industry, solid bodies density may be determined by means of under-pan weighing. Tested load of significant size may be measured this way.
Differential weighing
Differential weighing informs about mass variation a particular sample, wherein the said variation is a result of manufacturing processes.
Differential weighing is often applied in product control process, for which reference product parameters have been specified in order to be used as a source of comparison for the whole series.
Insuchcasestandard deviation is the information which tells about quality and completeness of a final product. For systems based on a feed-back technique such information may be used by control units.
Animal weighing
Process of mass determination for a product which may unwillingly reposition within the weighing pan. Mass determination in such cases requires much longer period of time when compared to typical weighing process. It is the user who defines period of time needed for control of measured product mass. The user can thus optimize the function depending on the measured product characteristics.
Ambient conditions monitoring
The possibility of cooperation with the THBR 2.0 system
Statistical quality control
Statistical control for determination of basic statistical criteria: maximum, minimum, standard deviation, mean values for each batch, etc.
Packed goods control
Pre-packaged Goods Control mode enables to collect weighings from RADWAG-designed weighing instruments, carry out control and generate PGC reports. Different types of weighing instruments can be combined into a network. The control can be started on a balance or via computer software. It is automatically finished after a respective quantity of packages is verified.
Collected data allows you to assess quality of produced pre-packaged goods and their conformity with:
- internal quality control system;
- 'Pre-Packaged Goods' regulation of 7th May 2009 (Journal of Laws No 91, item 740), on the requirements concerning quantity inspection of pre-packaged goods control, which inspection is to be carried out by means of random selection of the measurements results and sending those results to pre-packaged goods control procedure.
Alibi memory
"ALIBI" memory enables saving and storing up to 100000 measurements. Measurements are saved automatically upon each pressing of the key. There is no need for any additional operations or changing settings.
The following data related with the measurements is saved: measurement date; measurement time; result (mass); tare value; operator carrying out the measurement (logged in); product name.
The software saves the measurement in a so called loop, i.e. when the measurement no. 100001 is saved, the measurement 1 gets automatically deleted from the memory.
Measurements saved to balance memory cannot be deleted.
You can preview and print out the data saved to the ALIBI database.
Wifi®
Thanks to wireless communication between the computer and a balance, it is possible to use a balance inside a laminar flow hood and a fume cupboard.

